
How To Do Animation For Png In Premiere Pro
This guide/tutorial is about how to make images and pictures move in Premiere Pro using keyframes. It includes instructions on creating fluid paint effects, importing image sequences, and using the Motion effect to adjust clips. The tutorial also covers layering elements and adjusting their position and scale. The purpose of this video is to teach viewers how to create animations using Premiere Pro.
In Premiere Pro, you can create animations for PNG images using keyframes. Here's a general guide on how to do it:
- Import your PNG image into your Premiere Pro project.
- Place the PNG image on the timeline.
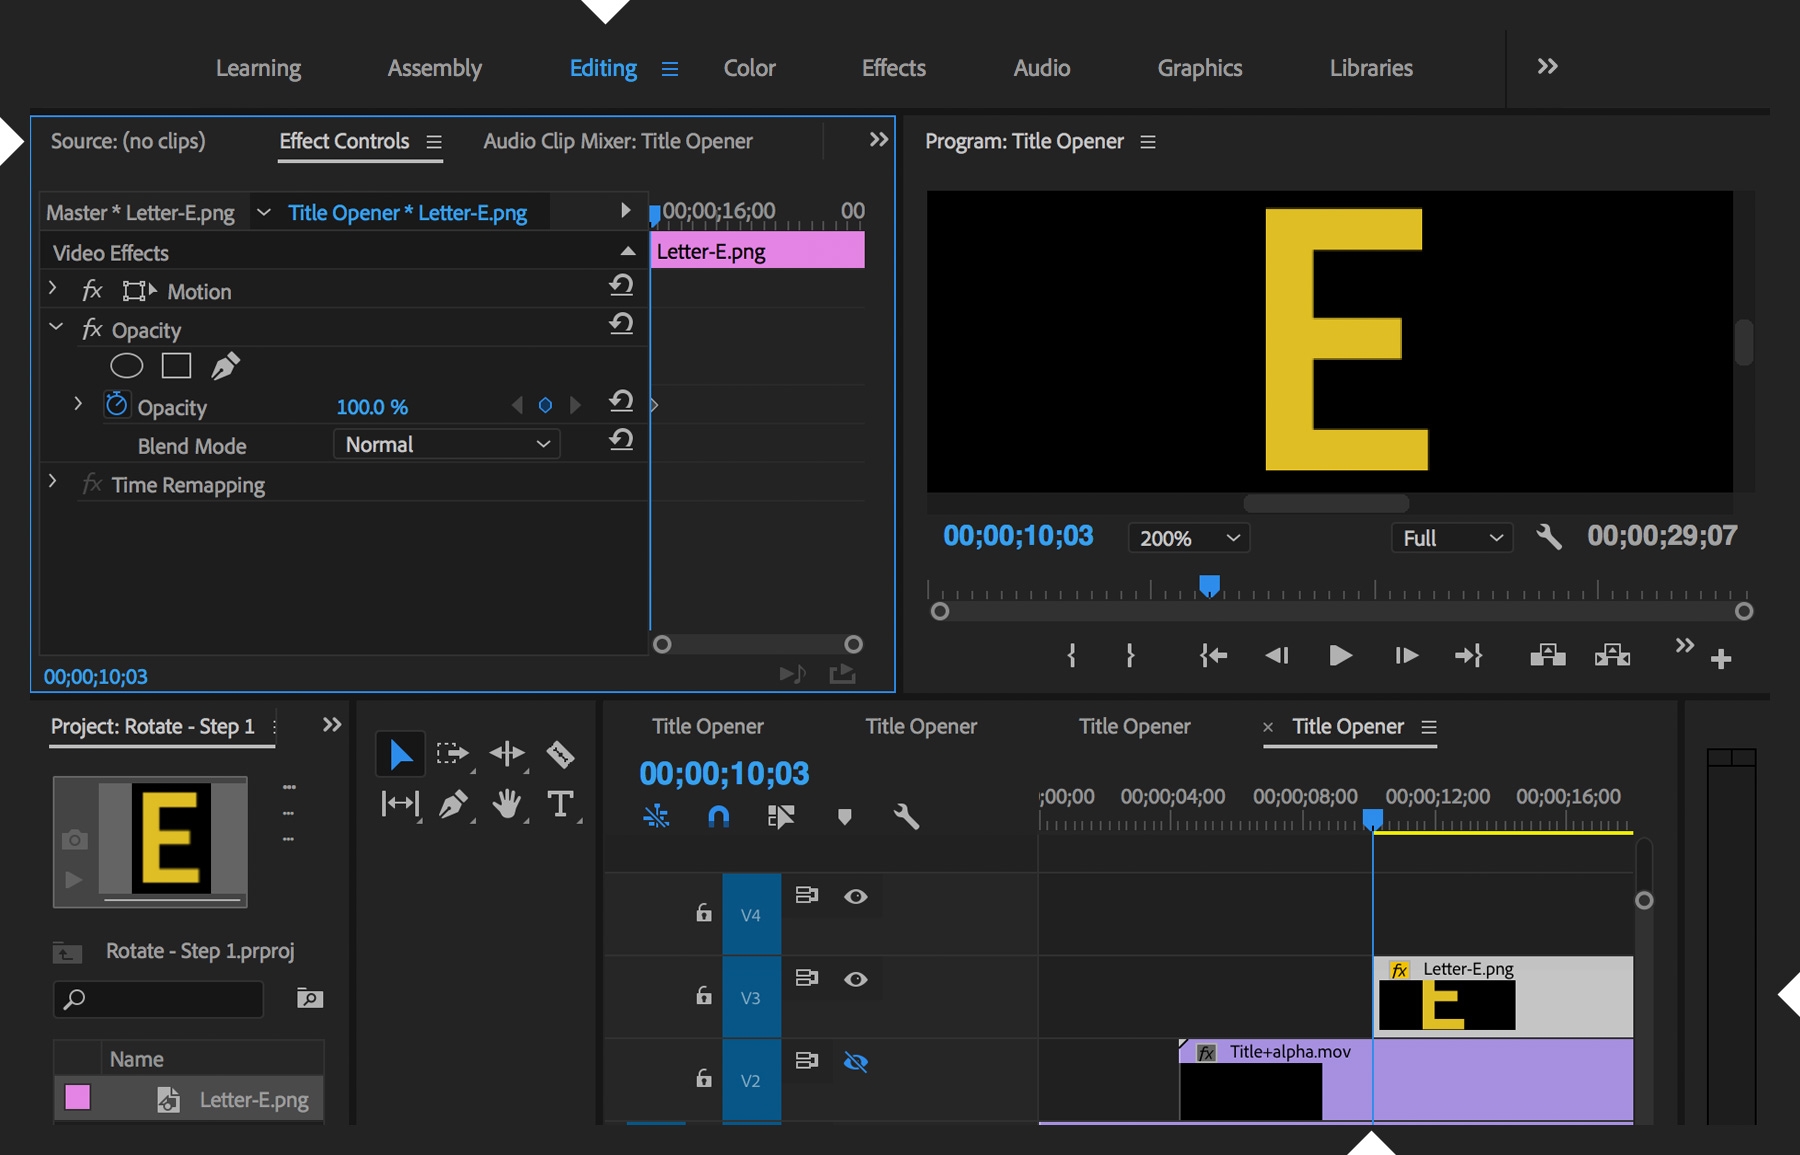
- Select the image on the timeline and go to the Effects Controls panel.
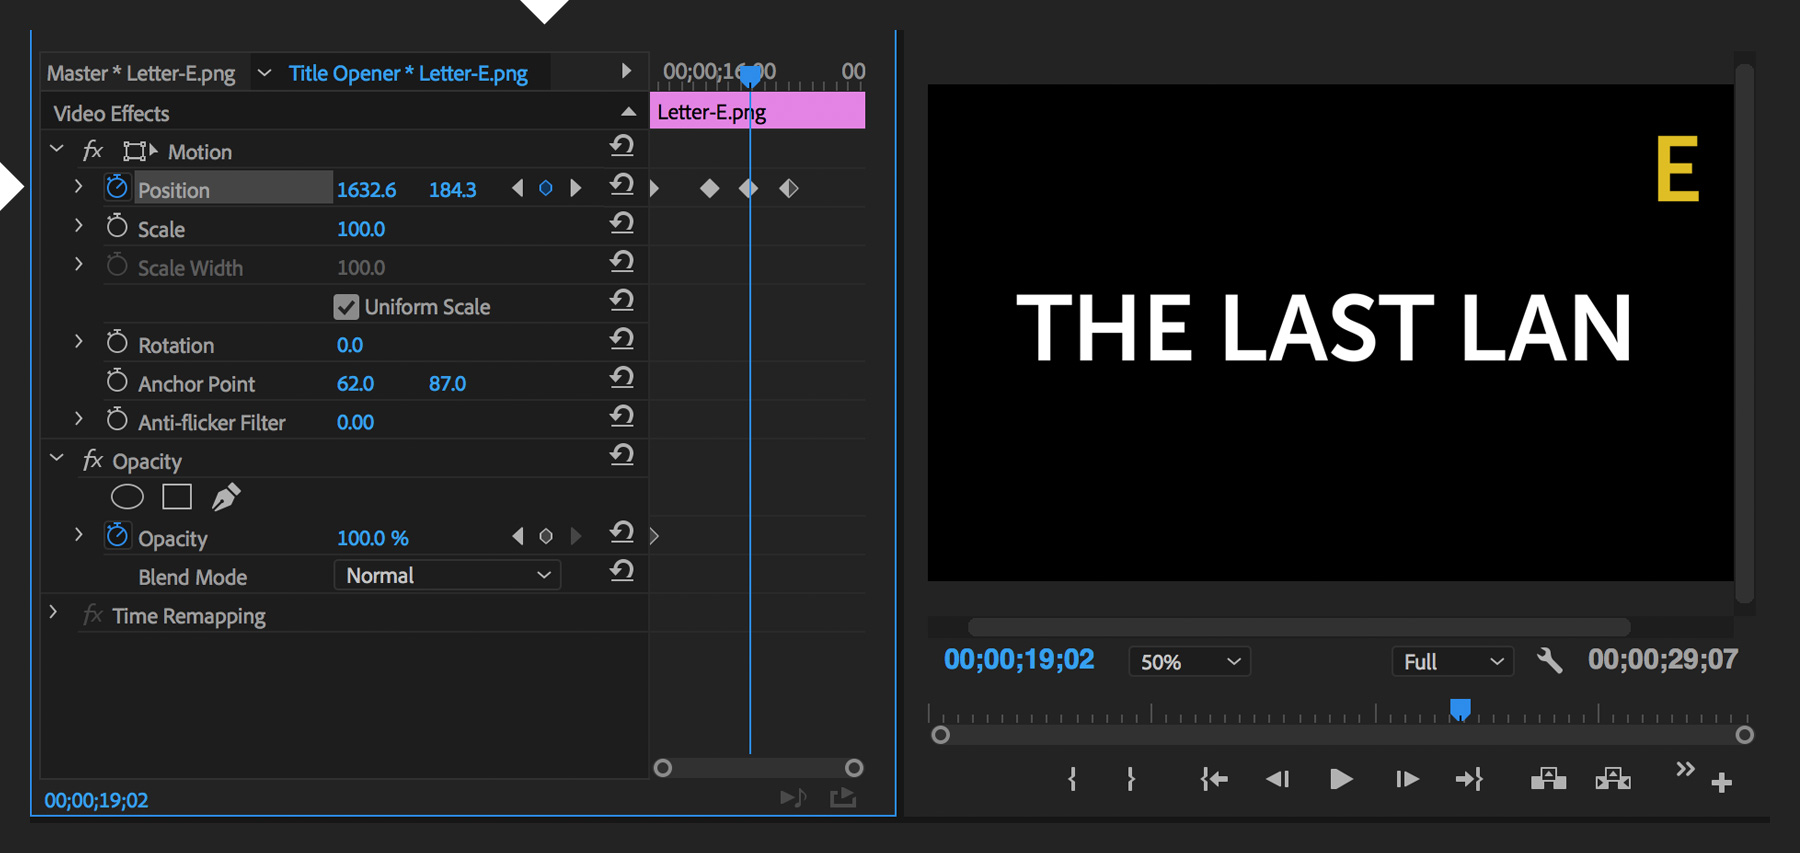
- In the Effects Controls panel, you can adjust the position, scale, and rotation of the image over time by setting keyframes at different points in the timeline.
- To create an animation, move the playhead to the point in the timeline where you want the animation to start, then adjust the position, scale, or rotation of the image and set keyframes for those properties.
- Move the playhead to another point in the timeline where you want the animation to end, then adjust the position, scale, or rotation again and set keyframes.
- Premiere Pro will automatically create the animation between the keyframes you've set.
This is a general overview. For a more detailed and visual guide, you may want to search for specific tutorials with step-by-step instructions and demonstrations.
Work fast from anywhere
Stay up to date and move work forward with BrutusAI on macOS/iOS/web & android. Download the app today.