
how to delete vm in parallels and add new one
To delete a virtual machine (VM) in Parallels Desktop and add a new one, follow these steps:
Deleting an Existing Virtual Machine
-
Shut Down the VM: Before you proceed with the deletion, ensure that the virtual machine you want to delete is powered off.
-
Access the Control Center: Open the Parallels Desktop application, and go to the Control Center where your VMs are listed.
-
Select the VM: Right-click on the VM you wish to remove.
-
Remove the VM: Choose the "Remove [VM Name]" option. You can also access this option by clicking on "File" in the menu bar and then selecting "Remove".
-
File Management: After removing the VM, you'll be prompted to decide whether you want to keep the VM's files. If you might need access to the files later, choose to keep them; otherwise, you can delete the files permanently.
These steps can be referenced from the following links for detailed guidance:
- Remove a virtual machine in Parallels Desktop for Mac
- Parallels Desktop Help - Remove a Virtual Machine
Adding a New Virtual Machine
After deleting the unwanted VM, you can create a new one:
-
Start the Parallels Desktop Application: Launch Parallels Desktop.
-
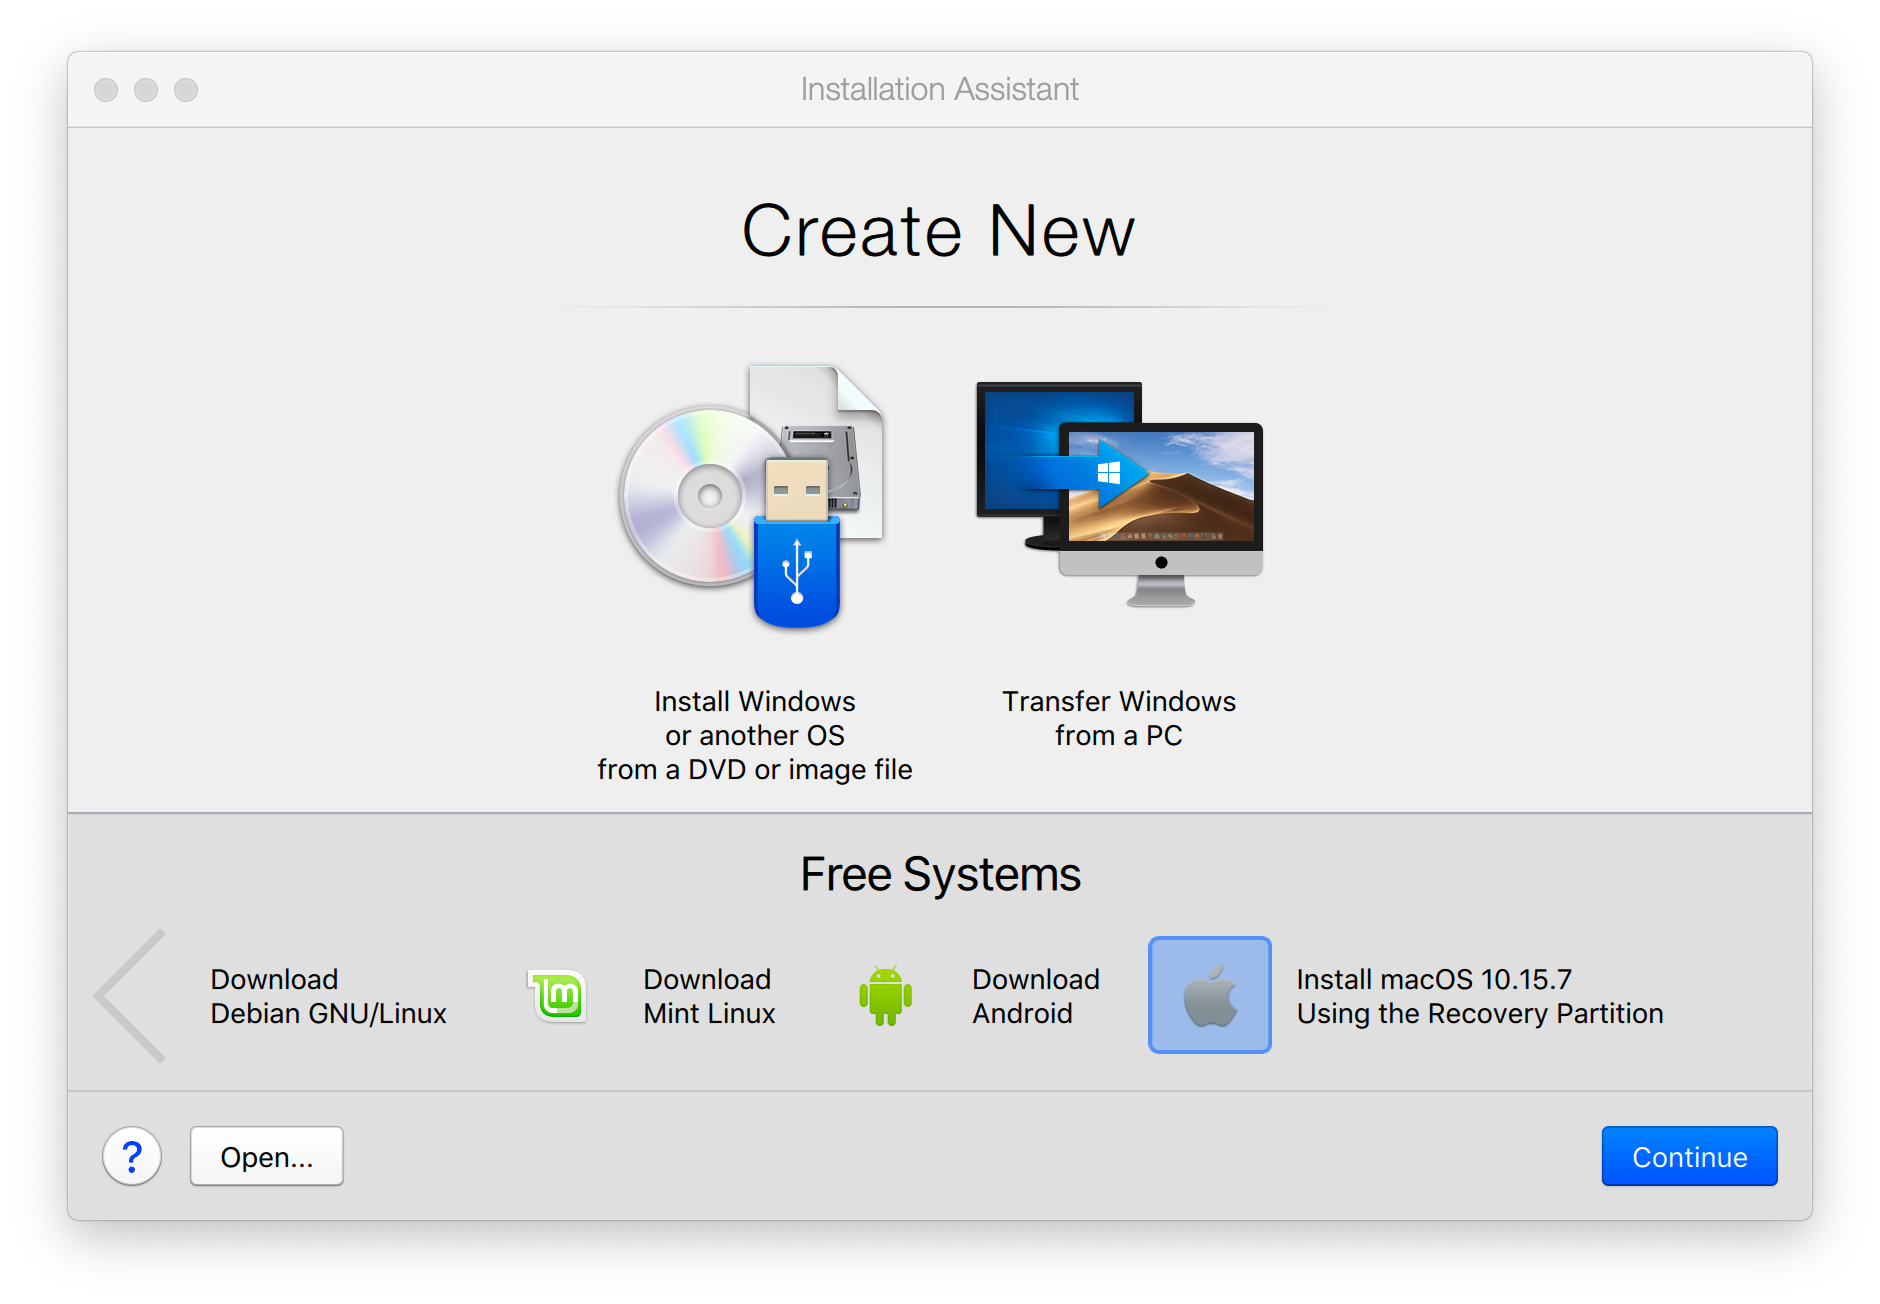
Create a New VM: Click on "File" and then select "New" to start the process of creating a new virtual machine.
-
Choose Installation Method: You’ll be prompted to select the installation method for the new VM. You can install Windows, Linux, or another OS using an image file, USB drive, or directly from a DVD.
-
Follow On-Screen Instructions: Complete the setup by following prompts, such as selecting the OS image and configuring the VM settings (like memory allocation, disk size, etc.).
For more information on adding a new VM, referring to the official Parallels documentation would be beneficial.
If you have more specific queries about this process, feel free to ask!To delete a virtual machine (VM) in Parallels Desktop and add a new one, you can follow these systematic steps based on the latest information:
Deleting a Virtual Machine in Parallels Desktop
-
Shut Down the VM: Ensure that the virtual machine you wish to delete is not running. If it's active, shut it down before proceeding.
-
Access Virtual Machine Options: Navigate to the virtual machine's window where it is listed.
-
Remove the VM: Right-click on the virtual machine name and select "Remove 'virtual machine name'." Alternatively, you can click on the File menu and choose Remove from there.
-
File Management: You will be prompted to keep or delete the VM files. Select “Keep Files” if you want to retain access to the VM’s files for future use, or choose to remove everything if you're certain you no longer need them. For a detailed guide, you can refer to the Parallels support page or the Parallels Desktop User's Guide.
Adding a New Virtual Machine in Parallels Desktop
-
Launch Parallels Desktop: Open the Parallels Desktop application from your Applications folder.
-
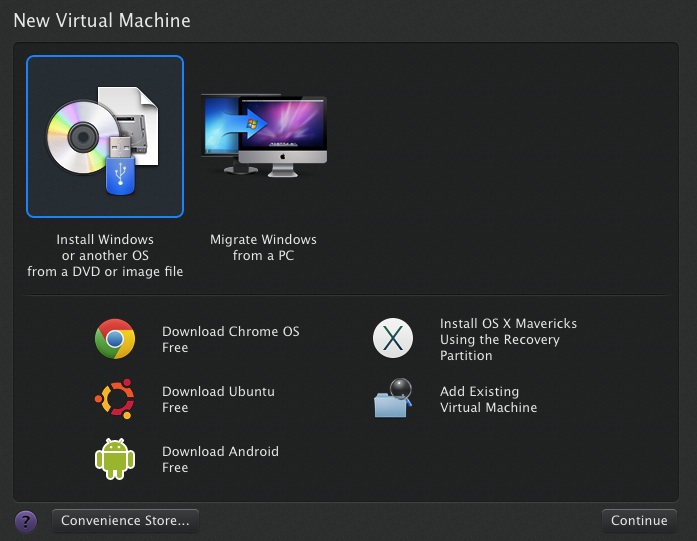
Create a New VM: Navigate to the File menu and select “New.” This will initiate the VM creation process.
-
Choose Installation Source: Follow the prompts to select the operating system you want to install. For instance, if you want to install a macOS system, you can select “Install macOS X Using the Installation Assistant” or any other compatible OS.
-
Configure Settings: Adjust the settings as per your requirements, such as RAM allocation and disk storage options, ensuring you have enough resources for the new virtual machine.
-
Complete Installation: Follow the on-screen instructions to finalize the installation of your new virtual machine.
For more detailed instructions on creating a new virtual machine, you can check the Parallels KB article or watch a helpful tutorial on YouTube.
By following these steps, you can effectively manage your virtual machines within Parallels Desktop.
Sources
Related Questions
Work fast from anywhere
Stay up to date and move work forward with BrutusAI on macOS/iOS/web & android. Download the app today.