
How Do I Create A Network Share On A Windows 6JZqZn3
To set up advanced sharing settings in Windows and access a shared network drive, go to Control Panel > Network and sharing center > Advanced sharing settings. Ensure that the user account is set up on both the client workstation and the server machine. Then, right-click the desired folder and open [Properties], navigate to the [Sharing] tab, and click [Advanced Sharing] to create an NFS file share with Server Manager. You will also need to create a user and add them to the appropriate user rights assignments, as well as follow the steps in the Computer Management window to create a new share. Finally, open up 'Windows Explorer' and click on 'This PC', then 'C://', right-click and select 'New -> Folder' to name the folder.
To create a network share on a Windows Server 2019, follow these steps:
-
Open Server Manager: Launch the Server Manager dashboard.
-
Navigate to "Shares": From the Server Manager, go to the "Shares" section under "File and Storage Services."
-
Create a New Share: Click on "Tasks" and then "New Share" to initiate the wizard for creating a new share.
-
Choose Share Type: Depending on your requirements, select either "SMB Share – Quick" or "SMB Share – Advanced."
-
Follow the Wizard: Walk through the wizard to select the folder you want to share, set the share name, and configure details such as caching and permissions.
-
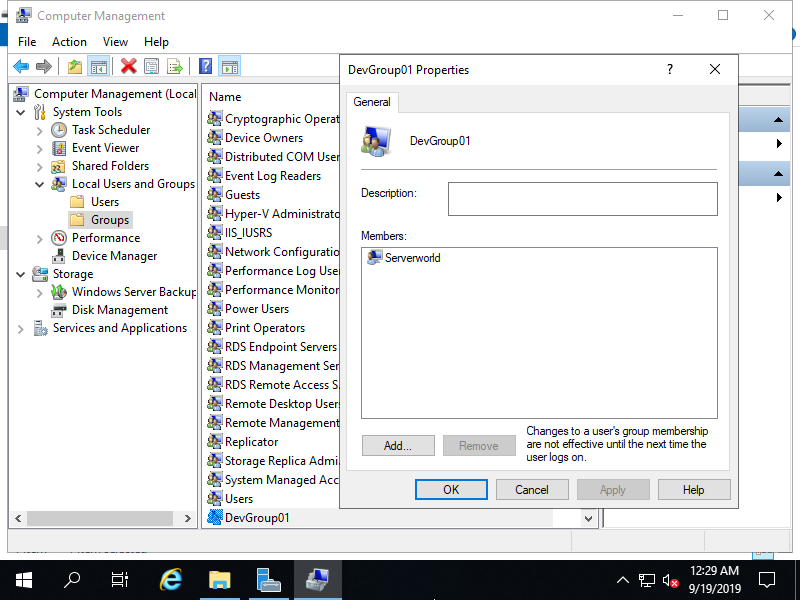
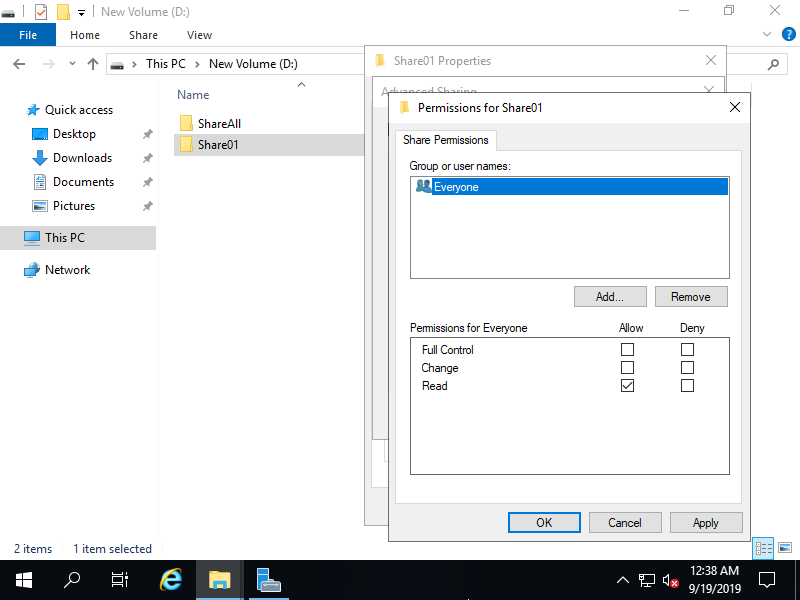
Configure Permissions: Ensure that you configure the appropriate permissions for the users and groups who need access to the shared folder.
-
Complete the Wizard: Once all the details are configured, complete the wizard to create the network share.
By following these steps, you should be able to successfully create a network share on your Windows Server 2019. If you need further help or have more specific requirements, feel free to ask!
Work fast from anywhere
Stay up to date and move work forward with BrutusAI on macOS/iOS/web & android. Download the app today.