
control color tags
To control color tags on a Mac, you can use the Finder application, which allows you to organize files and folders efficiently with colored tags. Here’s a detailed summary of how to manage these tags:
Accessing and Managing Tags
-
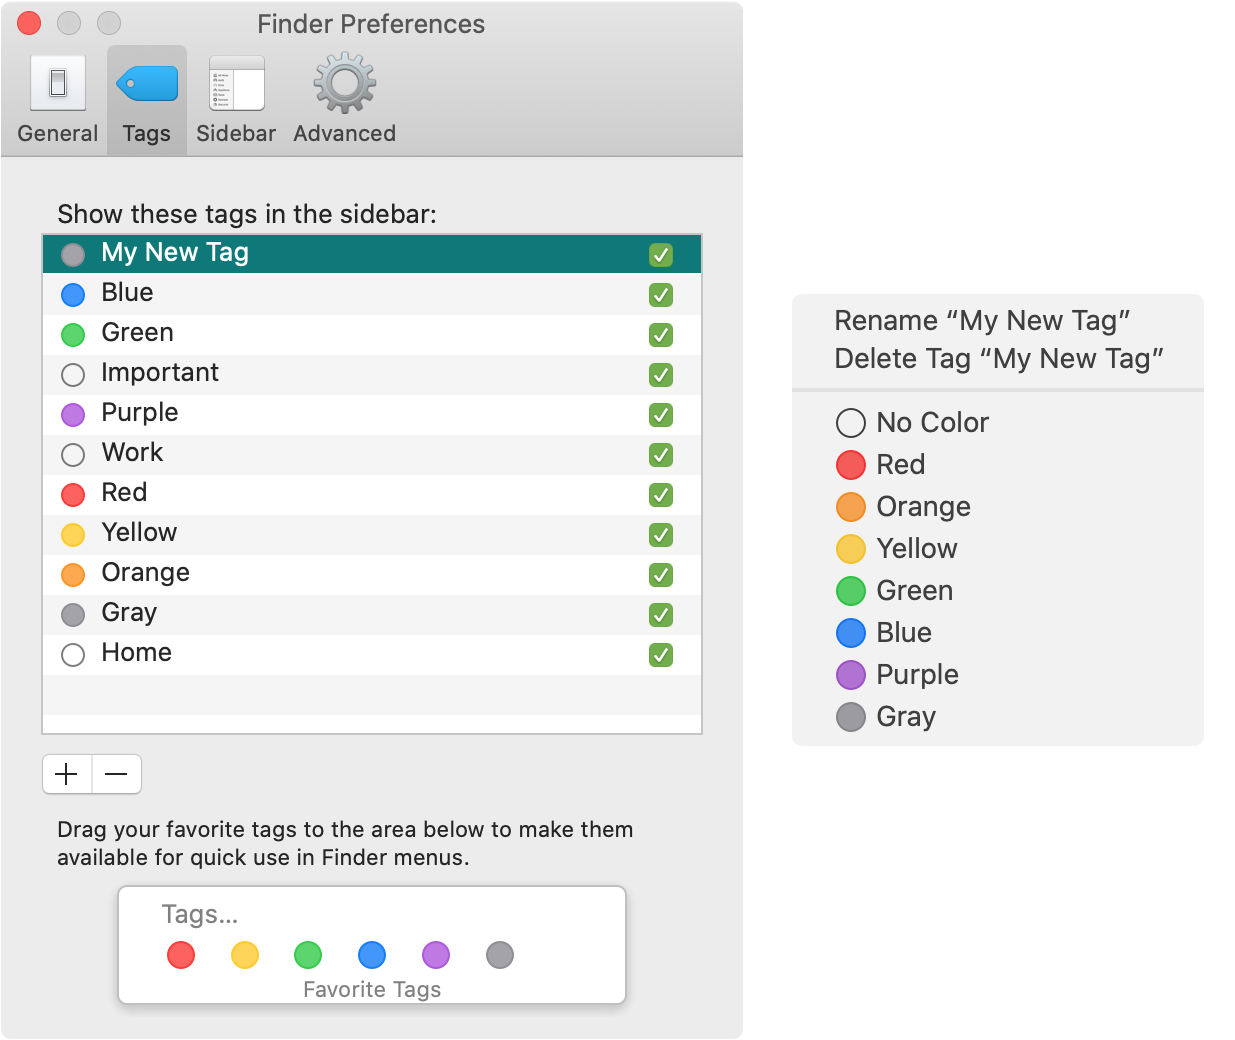
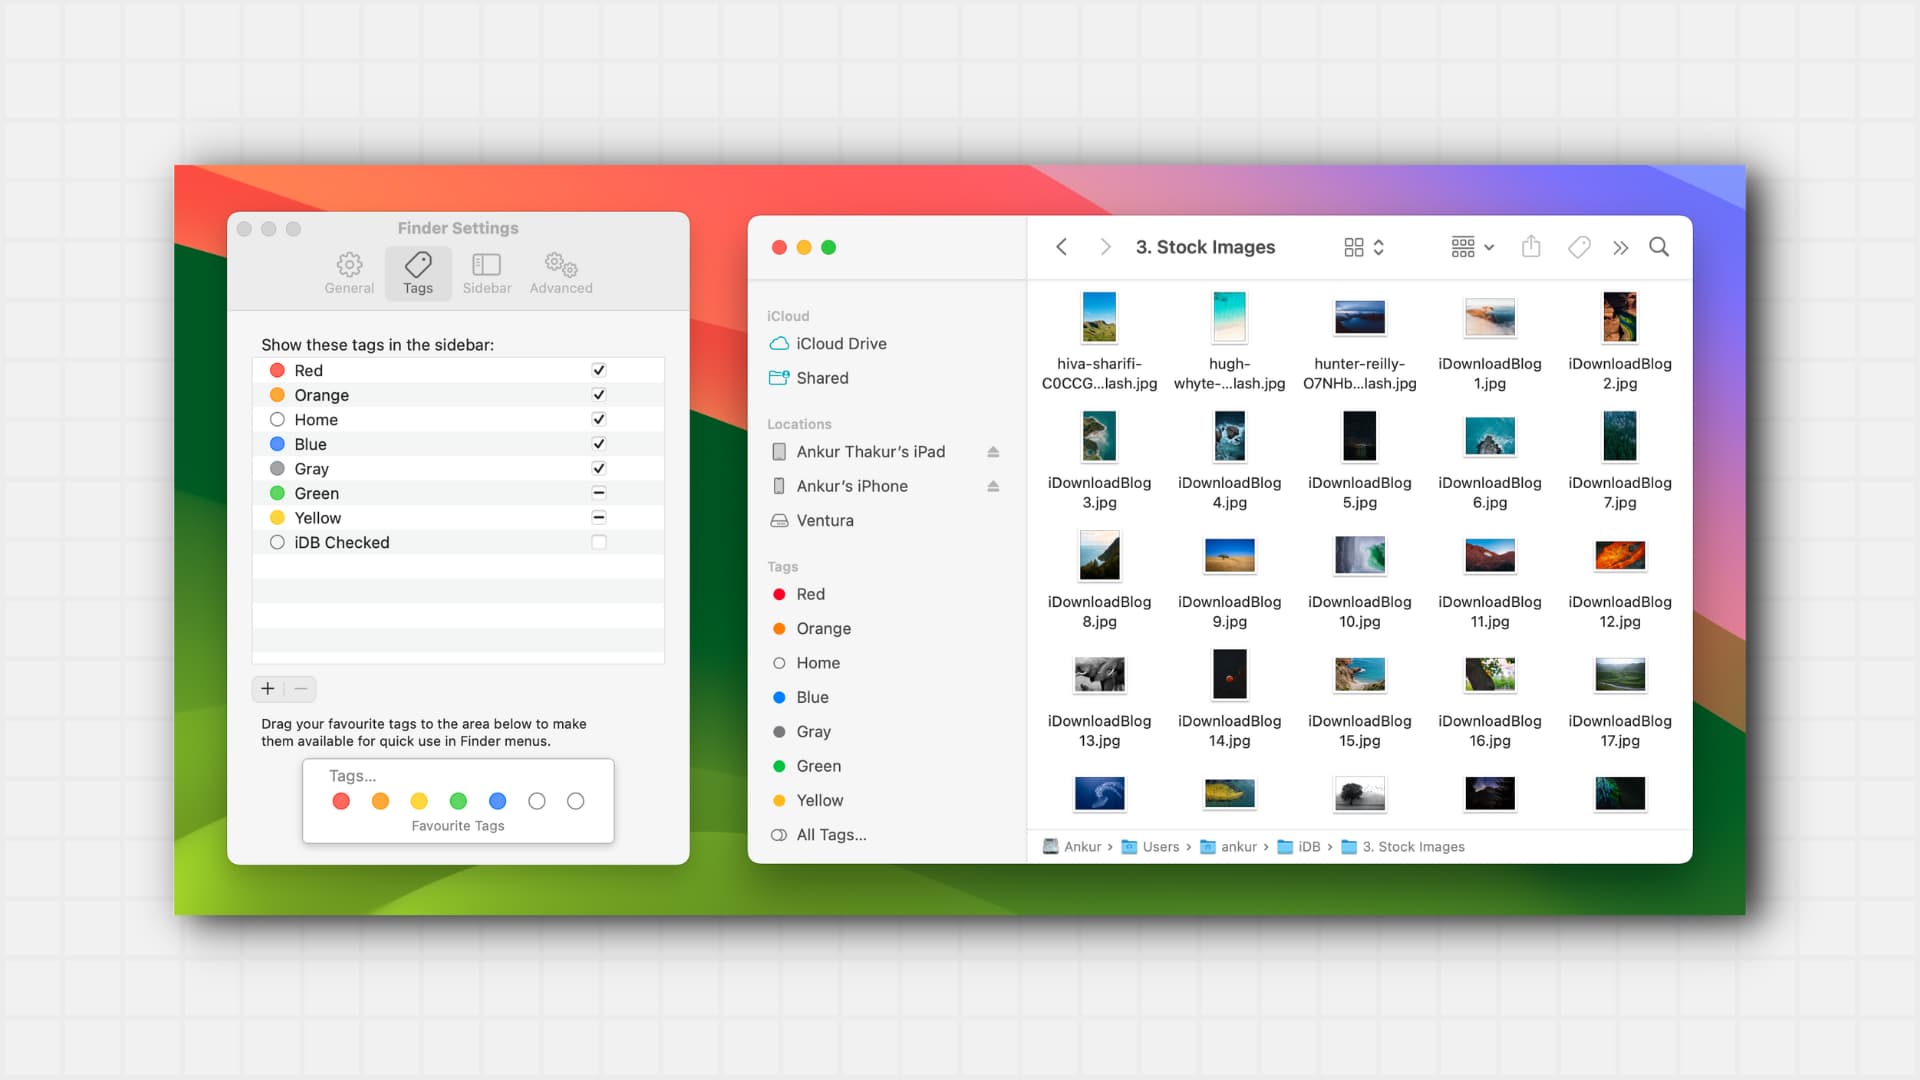
Open Finder Preferences: To start, click on Finder, then navigate to Settings or Preferences from the menu bar. From there, click on the Tags tab. You'll see a list of colored tags—blue, green, red, yellow, and more—each associated with its own label. Read more here.
-
Tagging Items: To tag a file, right-click or Control-click on the item you wish to tag, then select Tags from the context menu. You can choose an existing tag or create a new one as needed. More details available.
-
Removing Tags: If you need to remove tags from an item, Control-click on the item (or tap it with two fingers on a trackpad), then select Tags again. From there, select the tags you wish to remove, and press the delete key. Learn how to troubleshoot in this community thread.
Additional Resources
- If you're looking for a quick tutorial on removing all color tags, there’s a YouTube guide available that walks you through the process in detail.
- You can also explore keyboard shortcut methods for adding and clearing tags using the following video for more efficiency in your workflow.
Limitations
While you can use the preset colored tags, some users have expressed a desire for a customizable color picker for tags. This potential feature has been discussed in various forums. Check out user experiences here.
By following these steps and utilizing the provided resources, you can effectively manage color tags on your Mac, making file organization easier and more efficient.
Sources
Related Questions
Work fast from anywhere
Stay up to date and move work forward with BrutusAI on macOS/iOS/web & android. Download the app today.